In paint grade finish work, a bead of caulk—what the carpenters I learned from called “quarter-inch paint”—can cover small gaps in joints, but stain grade work is a more demanding standard. This is particularly true where wood meets brick or stone in an area that is visually prominent. In this article, we look at techniques used by finish carpenter Jonathan Alcantar to create a tight joint between wood mantel side panels and a brick fireplace.
The Problem
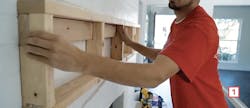
We pick up the project after the existing mantel has been removed, revealing a heavy wood nailer that had been embedded in the masonry when the fireplace was built. Alcantar attached a 2-by cleat to the nailer, then used it to secure the new, larger mantel frame [1].
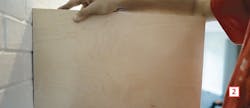
The mantel side-panels are birch plywood that will be fully visible where they meet the brick. A test fit revealed a nearly continuous gap that widened to ¼ inch or more at the mortar joints [2]. The solution was to scribe and cut the panel to match the irregularities in the brick.
A carpenter’s pencil can sometimes be used to scribe joints where the cuts are straight but out of square (for example, with baseboard at an inside corner). But scribing the tight curves of the mortar joints requires a drawing compass. Here’s the step-by-step.
Oversize the Work
The panel to be scribed should be longer than needed because the scribe cut will remove about ½ inch of material from the end that meets the brick. (If you’re unsure you’ll get it right the first time, leave twice as much—you can trim the excess later from the other end.) Also make sure that when the panel is held against the wall for scribing, its top and bottom edges are properly positioned—typically, this means ensuring they are level with the floor or at right angles to the wall. If the panel is out of level when you scribe it, it will be out of level after the scribe is cut.
Bevel the Edge
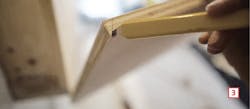
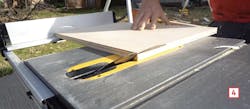
Alcantar marks the direction of a 45-degree bevel [3], then rips the edge to be scribed on the table saw [4]. The bevel will reduce the amount of wood he has to jigsaw through, and also make it easier to cut out the tight curves at the mortar joints.
Alcantar holds the panel in place with one hand while scribing with the other, a technique that requires concentration to ensure the panel doesn’t move during the scribe. An alternative would be to temporarily fasten or clamp the work in place, making sure the fasteners or clamps don’t obstruct the scribe path.
Scribe the Joint
After checking that the pencil lead in the compass is sharp, adjust the spread of the compass so the points are about ½ inch apart [5]. To better capture the irregular contours of the brick, the compass should be angled 5 or 10 degrees away from the wall. If needed, shorten the length of the lead point so that when the compass is held at the scribing angle, the lead point is close to level with the metal point. If the lead point is higher or lower than the metal point, the panel will shift down or up after the scribe is cut.
Make a test pass with light pressure to double-check the compass angle and ensure a clear path for the scribe. For the final scribe, use a slow, steady motion with consistent pressure on the pencil tip to scribe a dark line on the face of the wood [6].
Cut the Scribe Line
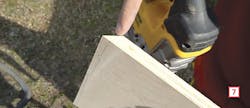
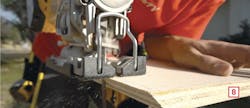
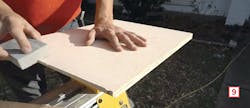
The dark scribe line makes it easy to see how the beveled edge reduces the amount of wood that needs to be cut [7]. Use a jigsaw to carefully cut along the scribe line [8], and clean up the edge with a sanding sponge [9]. For extremely tight turns, particularly on concave cuts, you may need to use a narrower jigsaw blade. Pencil thickness matters here, especially on tight turns, so cheat to the outside of the line if you must, then adjust the fit later if necessary.
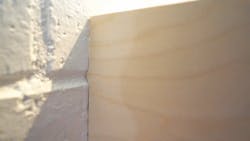
With a clean scribe and a careful cut, the result is a perfect joint [10].
About the Author
Sal Alfano
Executive Editor
Sal Alfano is executive editor for Professional Remodeler. [email protected], 202.365.9070
