


A structural engineering professor I had in grad school said there are two vulnerable times for a building: when it’s first being constructed and when it is being remodeled.
In my four-decade career, I’ve completed many projects that involve digging out crawl spaces or lowering basement floors, and I was prepared to write a thoughtful article about all of the careful planning that goes into that type of work.
But between the time I started on this article and its publication date, two homes in Denver—the city where I live—had partial collapses caused by excavations in the basements. So, this article now comes with more than a little cautionary advice to the remodeler, designer, or homeowner.
Three Essential Resources
We often encounter homes where there is only a partial basement. Perhaps in an effort to save money, the original builder put the rest of the home on a crawl space.
When planning whole-house remodels, crawl spaces often become a tempting focus for adding square footage by digging them out and extending the foundations downward so they are even with the old basement, or below it since many older homes have low ceilings.
In newer (post-war) homes with concrete foundations, this is pretty easy since reinforced concrete is incredibly strong and monolithic. Many foundations since the 1970s in Denver are a caisson type designed to resist expansive soil. In this kind of foundation, drilled caissons go down 20 feet or so, supporting the foundation wall at 15- to 20-foot intervals. The intervening foundations have nothing supporting them and act as beams, transferring the loads to the caissons at either end.
But in Denver, most of our remodels happen in brick homes built between 1895 and 1950. (Until the ‘50s, Denver only allowed masonry homes). These often have brick foundations and thin footings by today’s standards. And since brick is not as sturdy and monolithic as a poured-in-place concrete foundation, it can be very tricky to underpin and buttress these without compromising the integrity of the one- or two-story brick walls above.
You need two essential resources to do these successfully: a seasoned structural engineer and experienced subcontractors who have done these projects before. Oh, and a third essential is needed as well: Good insurance. This type of subgrade addition was briefly popular in the 1970s, but when several contractors “dropped” parts of the homes they were working on, it fell out of favor, as one might imagine.

A Cautionary Tale
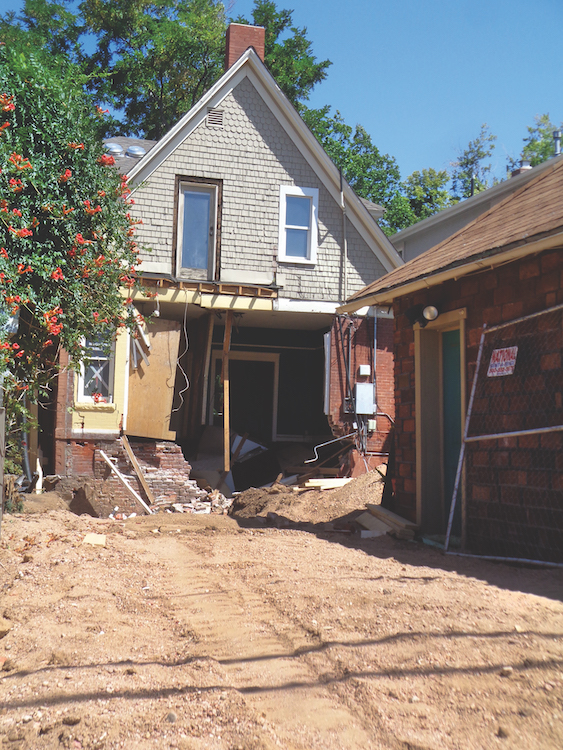
I talked to a worker involved in the catastrophic failure (pictured above) of a 1907 post-Victorian bungalow. The crew had just started the basement excavation when loud noises alerted them to hightail it out of the building where, from the curb, they watched the whole home shift. Afterward, both the north and south walls leaned six degrees to the south.
The back of the home, where they had cut an access hole for equipment, partially collapsed. The home is not salvageable, and multiple insurance companies have engaged forensic engineers to figure out why it happened and apportion responsibility.
The contractor, with whom I have worked with on other jobs, has done everything possible to stabilize the structure while awaiting direction from the engineers and the city about how to safely demolish it. In the meantime, he is paying for the neighbors on both sides to stay in hotels.
At present, speculation about the cause is that it was a combination of factors.
These included sandy soil; 116-year-old walls barely held together with sandy lime mortar; direction from an engineer to underpin, rather than buttress the walls; and no real footing. (Often what served as a “footing” in early 20th-century homes was nothing more than a layer of mortar onto which the builder set the first course of the brick wall at basement or crawl space level.)
Suffice it to say, he will never offer to underpin a brick foundation wall in the future.
Advice From an Engineer
Kyle Swartz is an engineering manager for Censpace, a structural engineering company licensed in multiple states. He admits that underpinning “is about the hairiest thing they do,” and they only agree to take those jobs on if they know and trust the contractor and if the building doesn’t show signs of distress that would indicate poor soils.
Swartz much prefers buttress or benched solutions to true underpinning, and agrees that brick or block foundations are at higher risk than solid concrete ones.
The type of soil has a lot to do with how the work will be designed; ideally, it is a stiff clay that holds together well so you can cut away without the soil caving in. Sandy soil poses the highest risk, and a contractor would have to do more short digs and pours.
In general, there will be a series of digs and pours up to, and possibly under, the current footing and foundation. These can be anywhere from 3 to 8 feet wide in the direction of the wall and should be completed carefully, and by hand, so as not to disturb the ground.
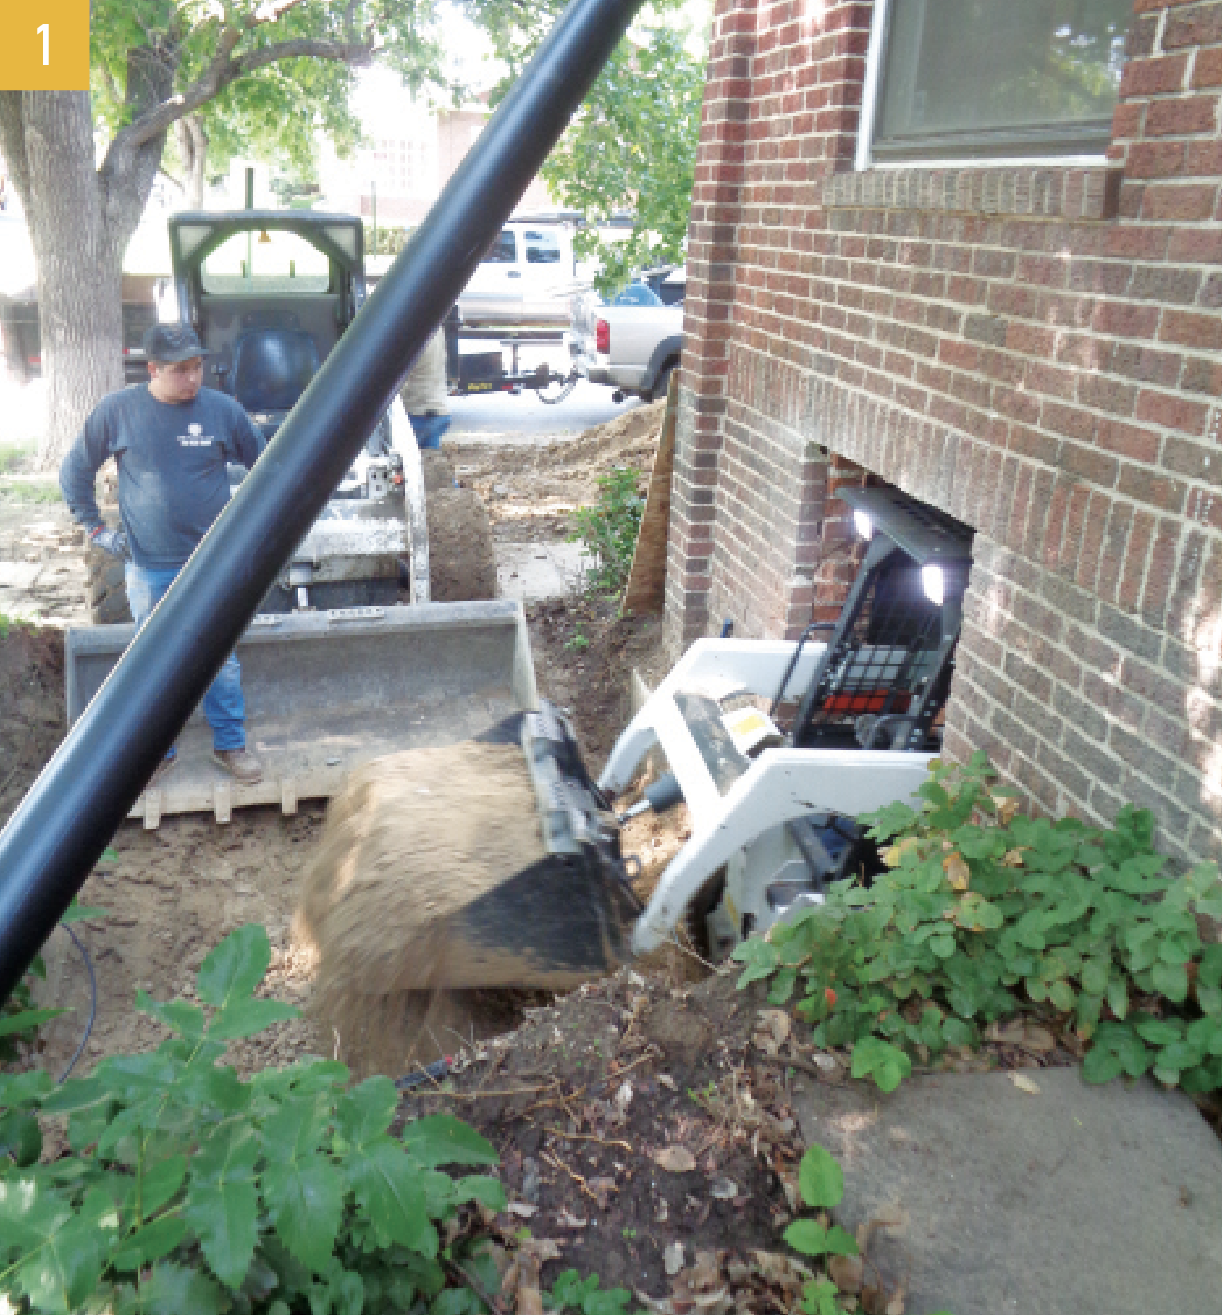
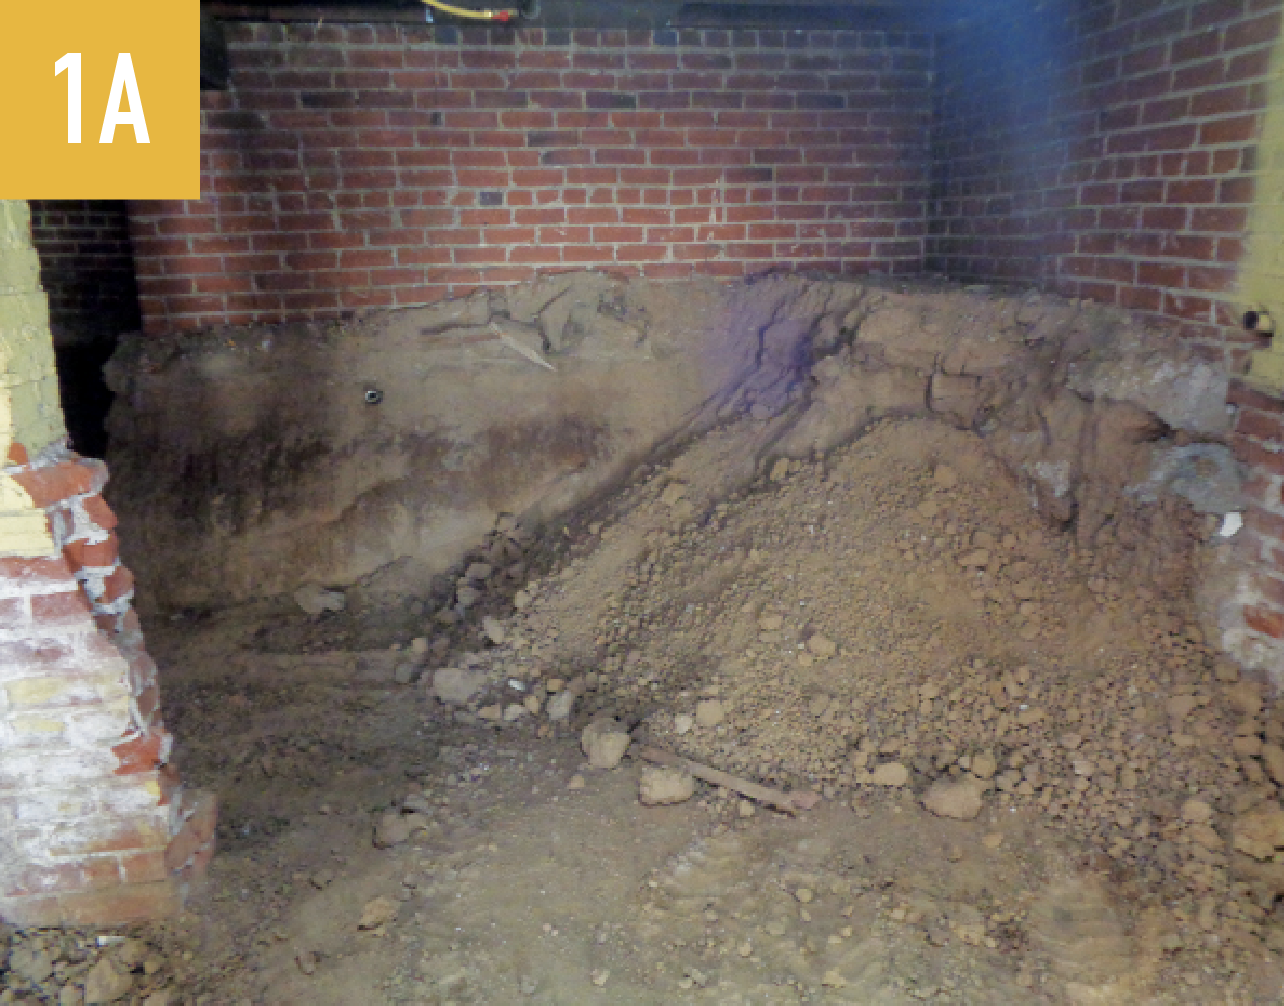
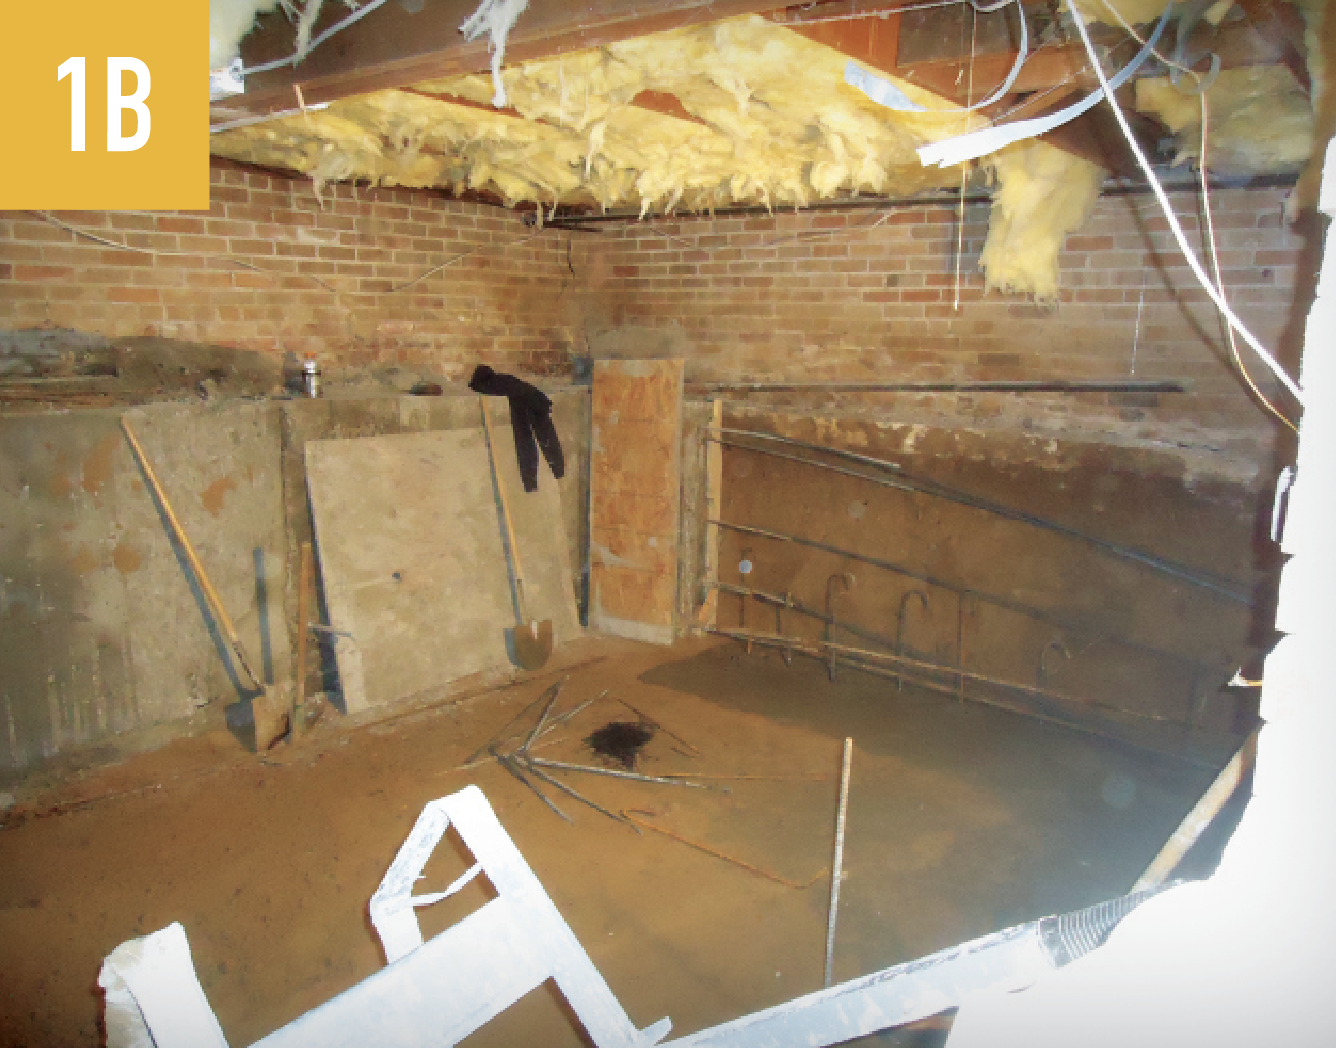
That said, the bulk of the excavation can be done by a Bobcat if, and only if, the space is well ventilated and crews can get almost up to the line of the foundation wall—although it is more prudent to stay a couple of feet off of it—and finish the dig by hand to avoid the possibility of jostling the existing wall. (Photos 1, 1A, and 1B)
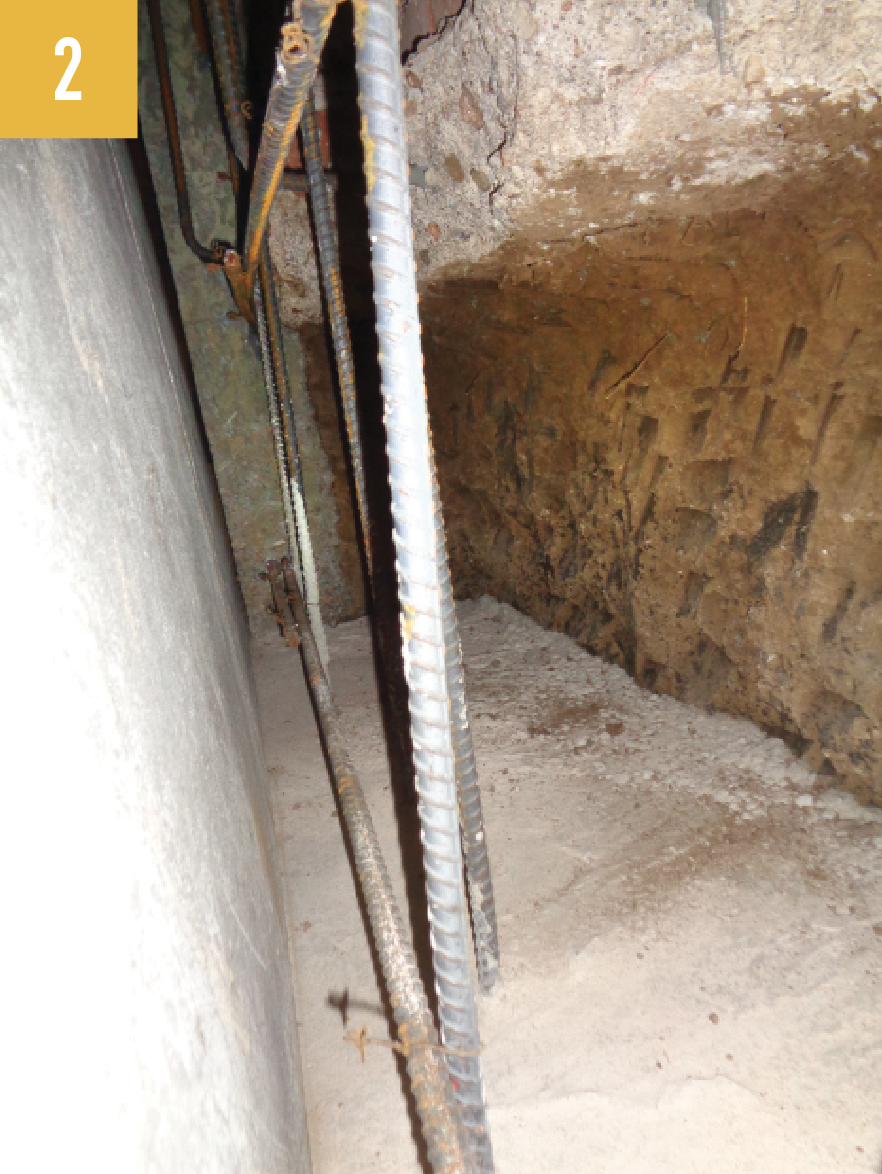
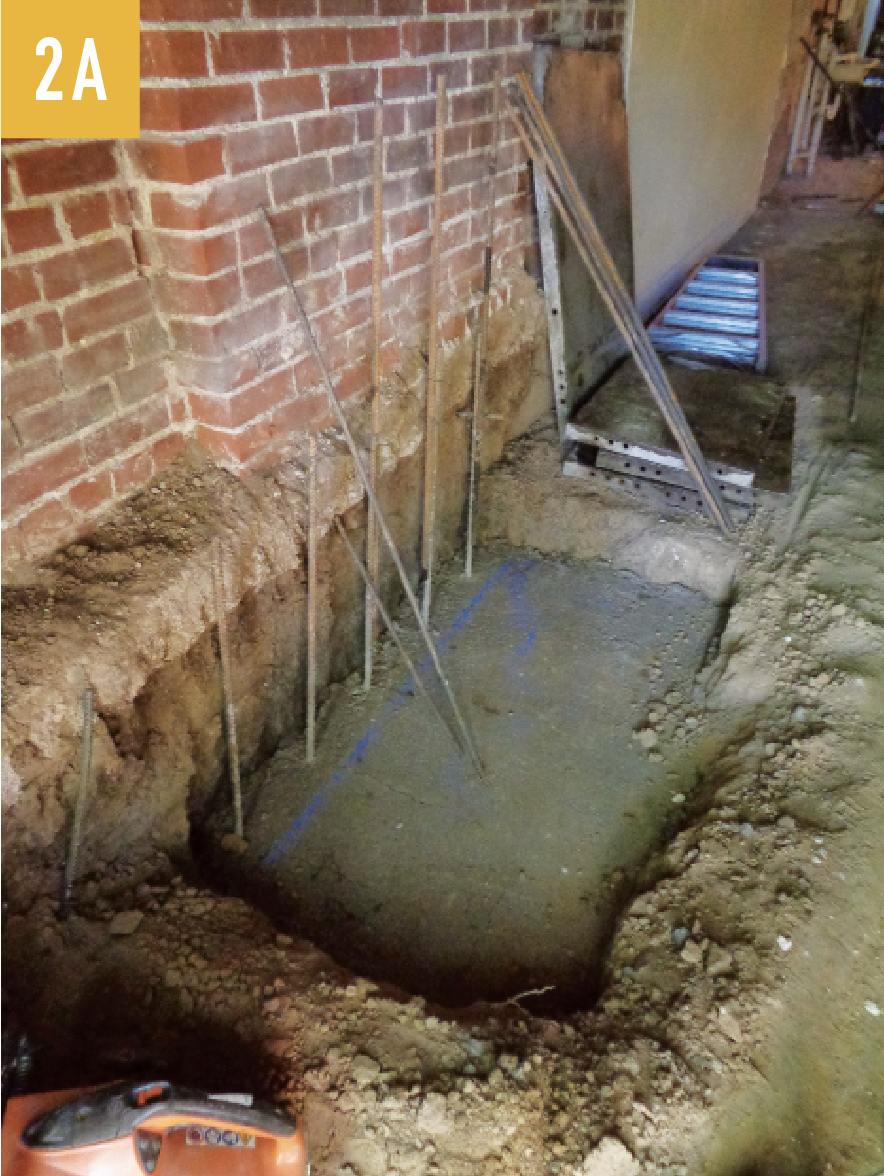
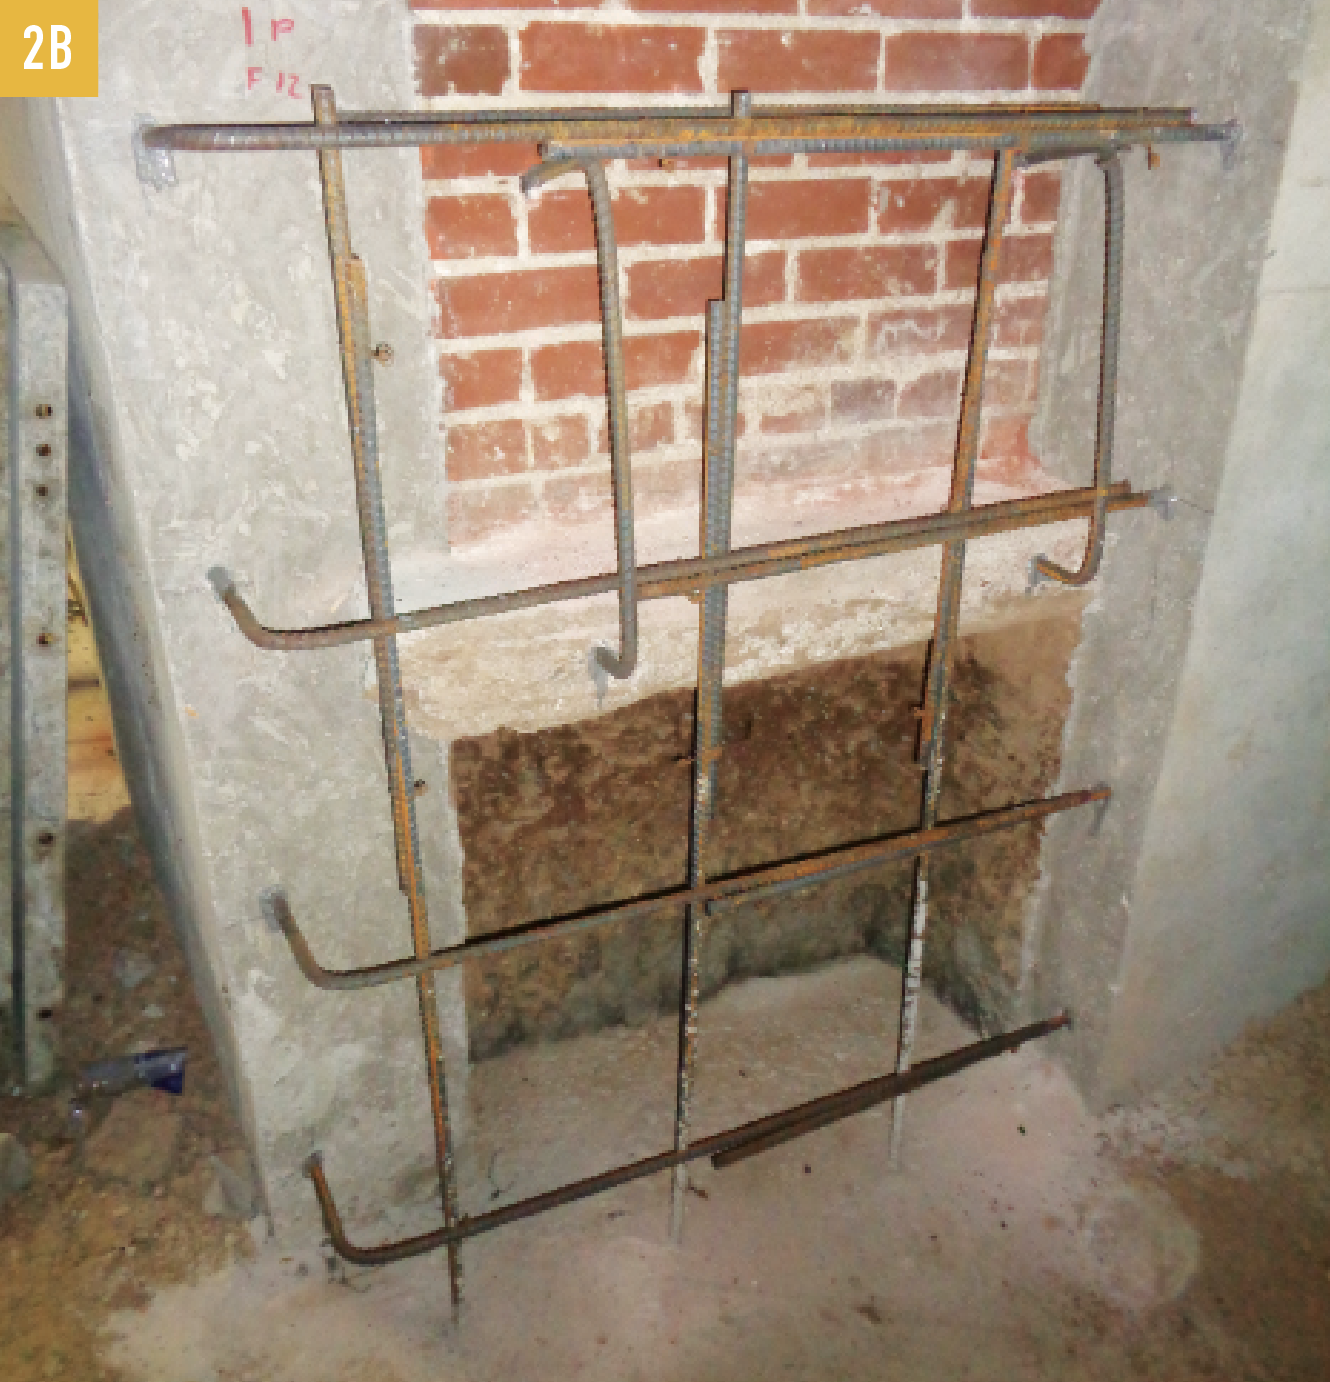
After digging the first series, footings are poured with rebar sticking up from them. These footers are helping resist lateral loads, and so can be quite wide. (Photos 2, 2A and 2B)
A section of the footer and wall will describe an L. As soon as that sets up, place forms around the prescribed reinforcing for the walls. These forms are almost always single-sided pours with diagonal bracing back into the new basement space.
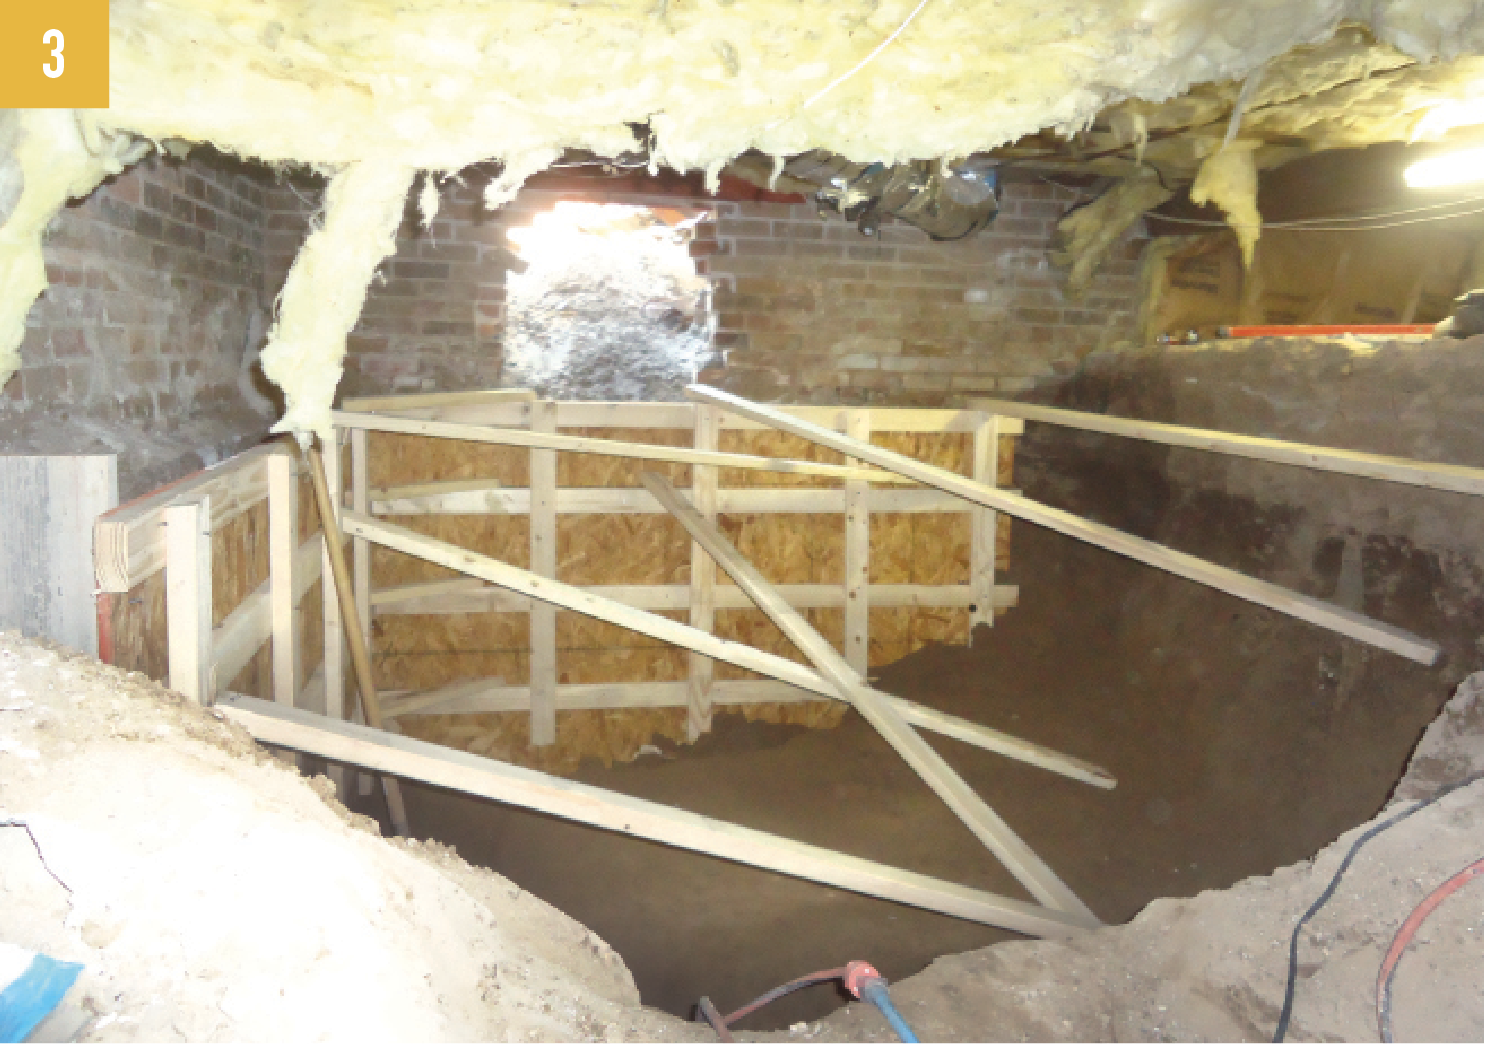
Horizontal reinforcing is left protruding out the sides of the forms to connect to the next section. (Photo 3) Alternatively, you can drill and epoxy rebar into the side of the first pour. Use of a concrete pumper is essential to working efficiently in this tight space.
Depending on the soil, you will have at least two digs and pours, but three are more common. Each pour has a footing done first, then the foundation wall on top of it. After the first pour sets, the foundation is now supported at the basement level and then higher at the crawl space level by the dirt that will now be dug out in phase two.
To save time, we usually commission the engineer to come out and do the rebar inspections for each of these pours, as he/she knows what to look for and will sign off. This kind of expertise may be above the pay grade of the average city inspector, and they are quite happy for someone else to sign off on it.
It is possible to do an underpin that is flush with the original foundation wall above, but it is more common (and advisable) to bring it out a foot and pour it up over the old footer. This way, the wall not only supports the vertical load, it also resists lateral ground pressure, which can be considerable.
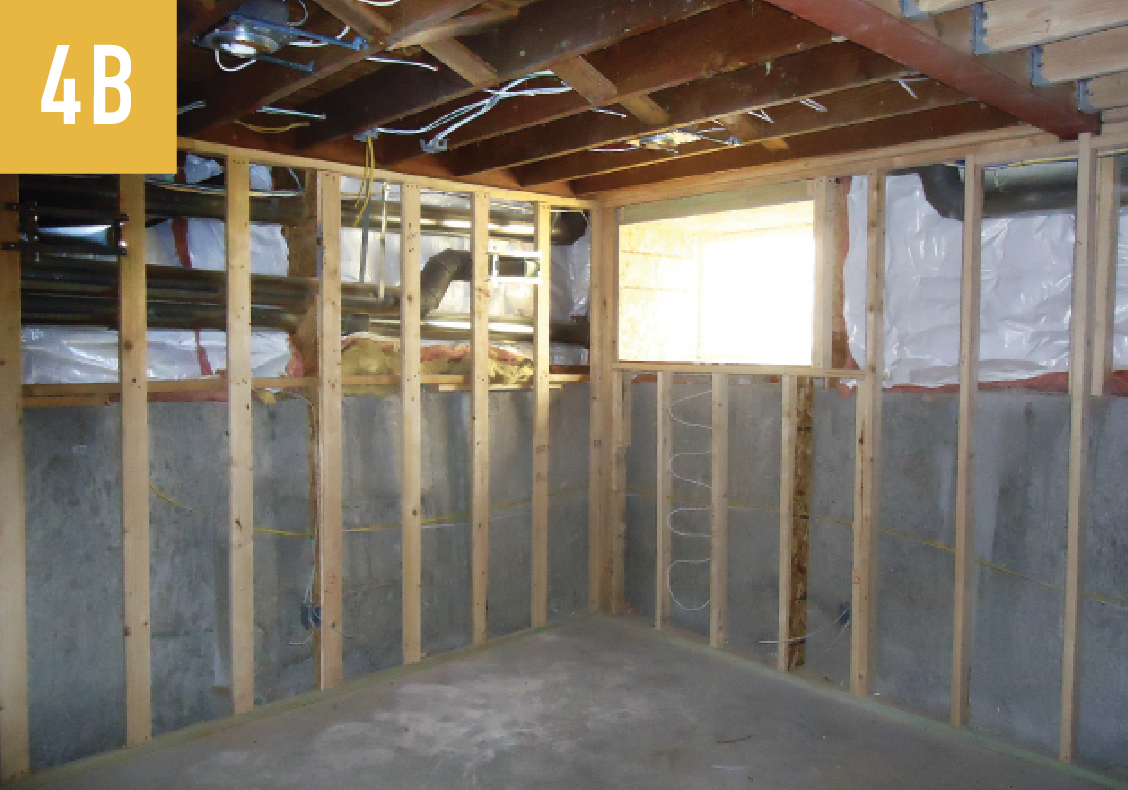
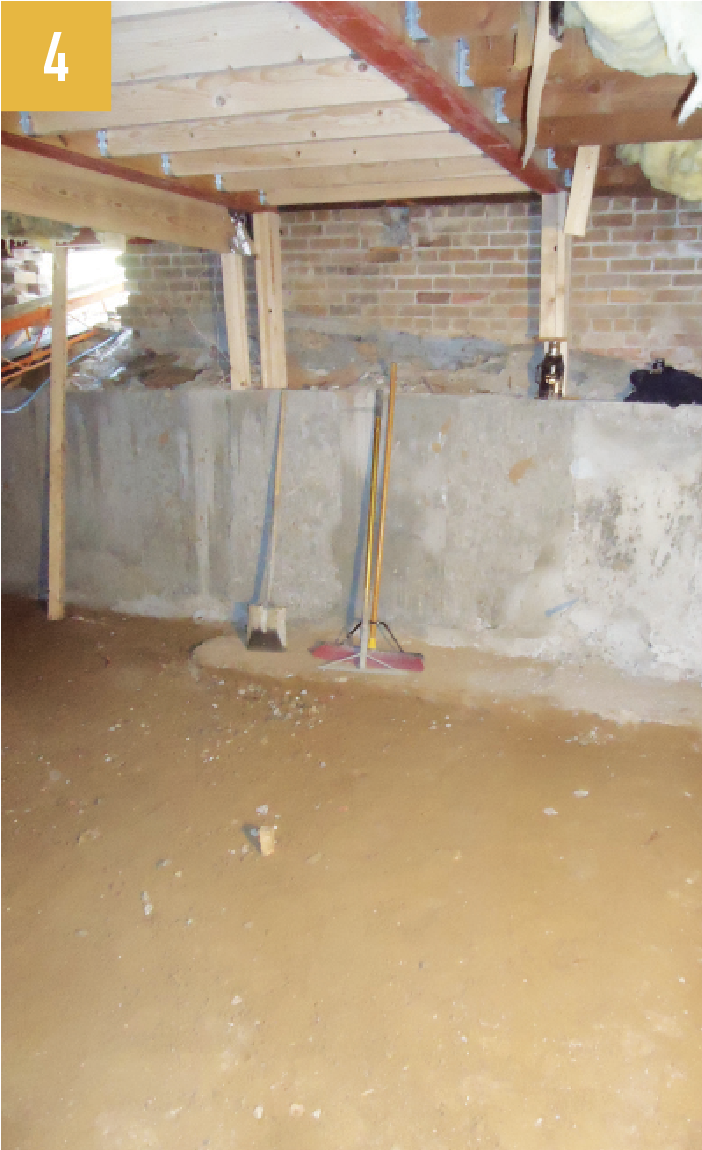
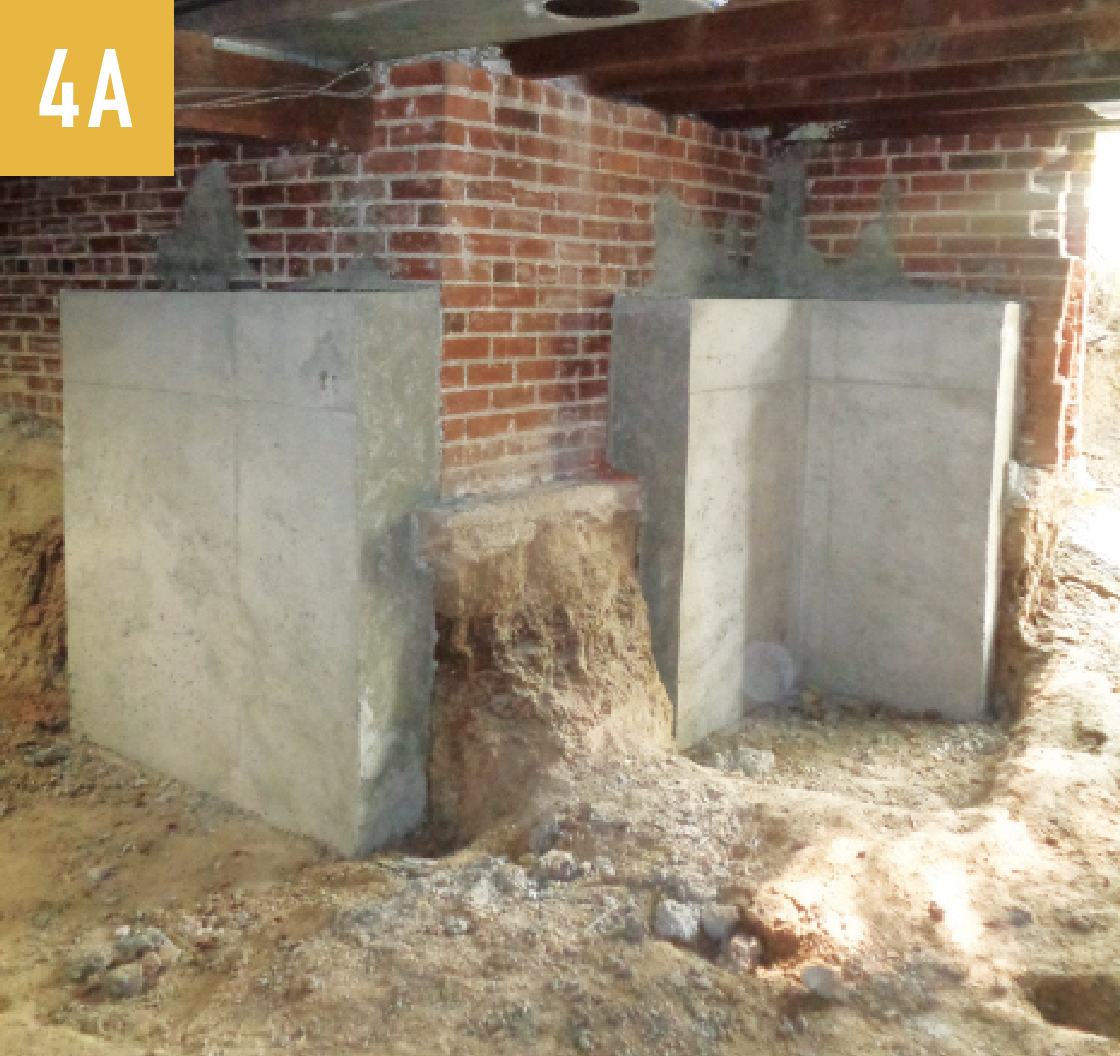
This buttress effect means there will be a step in the finished wall, which you can configure in various ways. (Photos 4, 4A, and 4B) For example, you might create a shelf that runs around the room or a chase for mechanicals. We almost always furr out these foundation walls, partly for energy reasons, and also to hide what is typically not the prettiest pour you’ve ever seen since it is done in sections.
Lowering a Basement Floor
This is a common request from owners of old homes where the basements were originally utility areas with low ceilings. Can it be done? Yes! You can do anything as long as the request is written on the memo line of a blank check.
Ballpark, figure about $25,000 to $50,000 to complete the underpinning of foundation walls necessary to drop the floor level of an old basement. Like in taller buttressing, it is best to do this in short sections, leaving the original slab in the rest of the area for lateral bracing.
But most of the time, I try to talk the owners into keeping the main basement at the original height and using it for mechanical, storage, laundry, and such, and then creating a new step-down basement under an addition in the back of the home. We’ll still need to underpin or buttress the back wall of the home, but that’s easier than four walls.
I don’t care how many times we’ve converted crawl space to basements, and how experienced the crew is, after the whole process, which can take weeks, we all breathe a sigh of relief when the pours are finished and the home is sitting safely on the new foundation and footer.
Add new comment
Related Stories

How to Insulate a Heated, Structural Slab with XPS
ProTradeCraft's Building Resilience season three starts with making a basement more comfortable

How to Retrofit Foundation Footings
To make a low-height basement a more comfortable living space, this remodeler digs deeper but needs to add support to do so


You Need to Talk About It: Mental Health in Construction
Men in the construction industry die by suicide at a rate nearly four times the national average. What should business leaders do about it?

How to Attach a Patio Roof to an Existing House
A graceful integration may mean more work but improved functionality and aesthetics
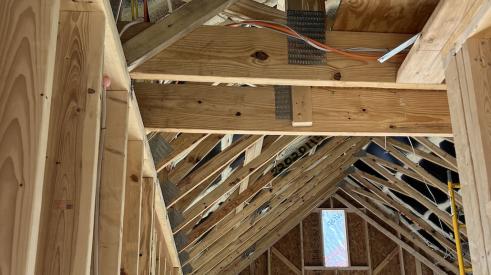
How To Improve Energy Performance in Existing Attics
There’s more to insulating the attic than attic insulation; there’s venting, air sealing, and misery
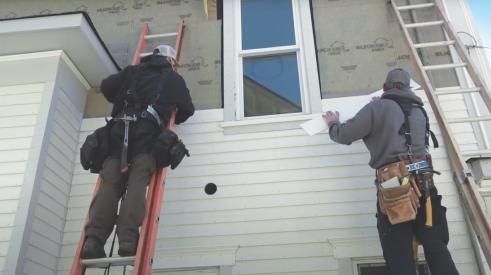
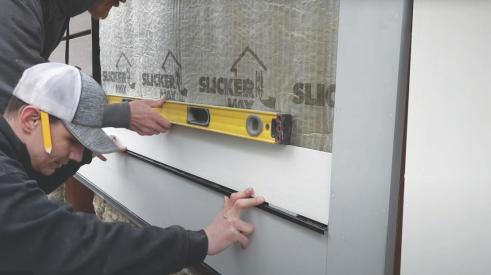
How to Install PVC Bevel Siding Over Rainscreen
It’s a lot like installing wood bevel siding, except it won’t warp or rot. And it expands and contracts differently and for different reasons
Understanding How PVC Trim Moves
Anybody who’s used PVC in an exterior application knows that it moves seasonally. Just like wood, right? Not exactly
To Vent or Not to Vent: A Discussion
In an attempt to strike a middle ground between high-performance and attainable, these three remodelers engage in a candid conversation
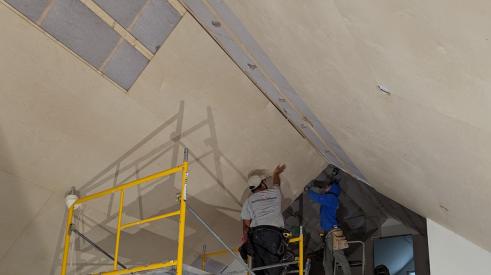
Ceiling Insulation and Installation at Model ReModel
Watch the building process of this accessory dwelling unit's vaulted ceiling