


Pressure-sensitive tape is pretty sticky, but to work properly, you have to install it in the right sequence. As with lap siding or shingles, start at the bottom and work your way up so that water can drain without encountering fishmouths or damming where flashing materials overlap. Seal roof sheathing course by course, horizontal seams first, followed by vertical seams. With pressure-sensitive tape, be sure to press the tape into the roof deck with a roller to ensure it achieves maximum adhesion.
[1] Begin at the eaves and work your way to the ridge. To keep wind-driven rain out of the framing, seal the bottom edge of roof sheathing, turning the flashing tape down over the subfascia.
[2] Treat gable ends the same way, turning the tape over the edge of the sheathing onto the subfascia.
[3] Next, seal the valley with tape or peel-and-stick membrane, overlapping at least 1 inch on either side of the valley. If you can’t seal the full length with a single strip, start at the bottom and overlap subsequent strips as you work your way up the valley.
[4] Seal vertical seams in the first course of sheathing, overlapping the tape at the eaves and valleys.
[5] Then seal the horizontal seam between the first and second courses of sheathing, overlapping the vertical strips of tape.
[6] Continue up the roof, sealing vertical seams so they overlap the tape on the horizontal seams below, and sealing horizontal seams so they overlap the tops of the tape at vertical seams.
[7] Seal hips last, overlapping at least 1 inch on either side.
Get more Jobsite Know-How here
Adapted from “Stormproof Roof Deck: Seam Taping Sequence,” one in a series of videos and animations about stormproof roofs produced by ProTradeCraft.com with help from Huber Engineered Woods, Inc.
Add new comment
Related Stories

How to Retrofit Foundation Footings
To make a low-height basement a more comfortable living space, this remodeler digs deeper but needs to add support to do so


Crawl Spaces to Basements: Proceed with Caution
Converting a crawl space to other uses can upgrade a home and add significant value, but when done incorrectly, it can also be disastrous

The Ins and Outs of Pedestal Tile Systems
A non-exhaustive overview of all things pedestal tile systems

How to Attach a Patio Roof to an Existing House
A graceful integration may mean more work but improved functionality and aesthetics
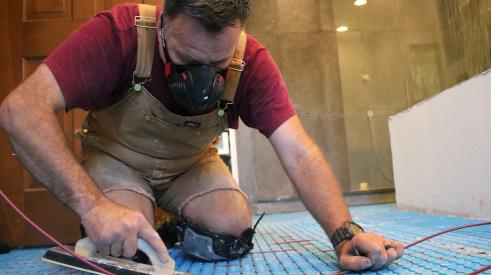
6 Tips for Electric Floor Heating Systems
These quick tips and tricks provide a base knowledge to begin your floor heating education
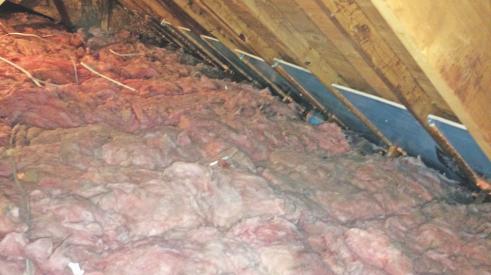
How To Improve Energy Performance in Existing Attics
There’s more to insulating the attic than attic insulation; there’s venting, air sealing, and misery
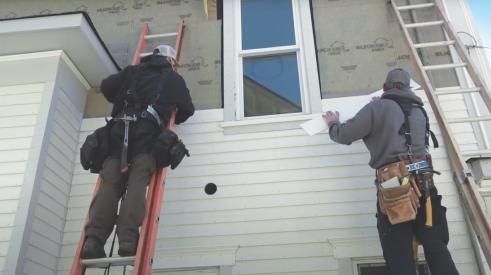
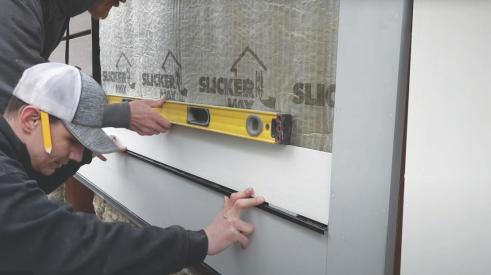
How to Install PVC Bevel Siding Over Rainscreen
It’s a lot like installing wood bevel siding, except it won’t warp or rot. And it expands and contracts differently and for different reasons
Understanding How PVC Trim Moves
Anybody who’s used PVC in an exterior application knows that it moves seasonally. Just like wood, right? Not exactly
To Vent or Not to Vent: A Discussion
In an attempt to strike a middle ground between high-performance and attainable, these three remodelers engage in a candid conversation